How to use Lottie Component in React Native for Android and iOS both
Component
Lottie
React Native
Android
iOS
- By Code solution
- Aug 9th, 2021
- 0 comments
- 3
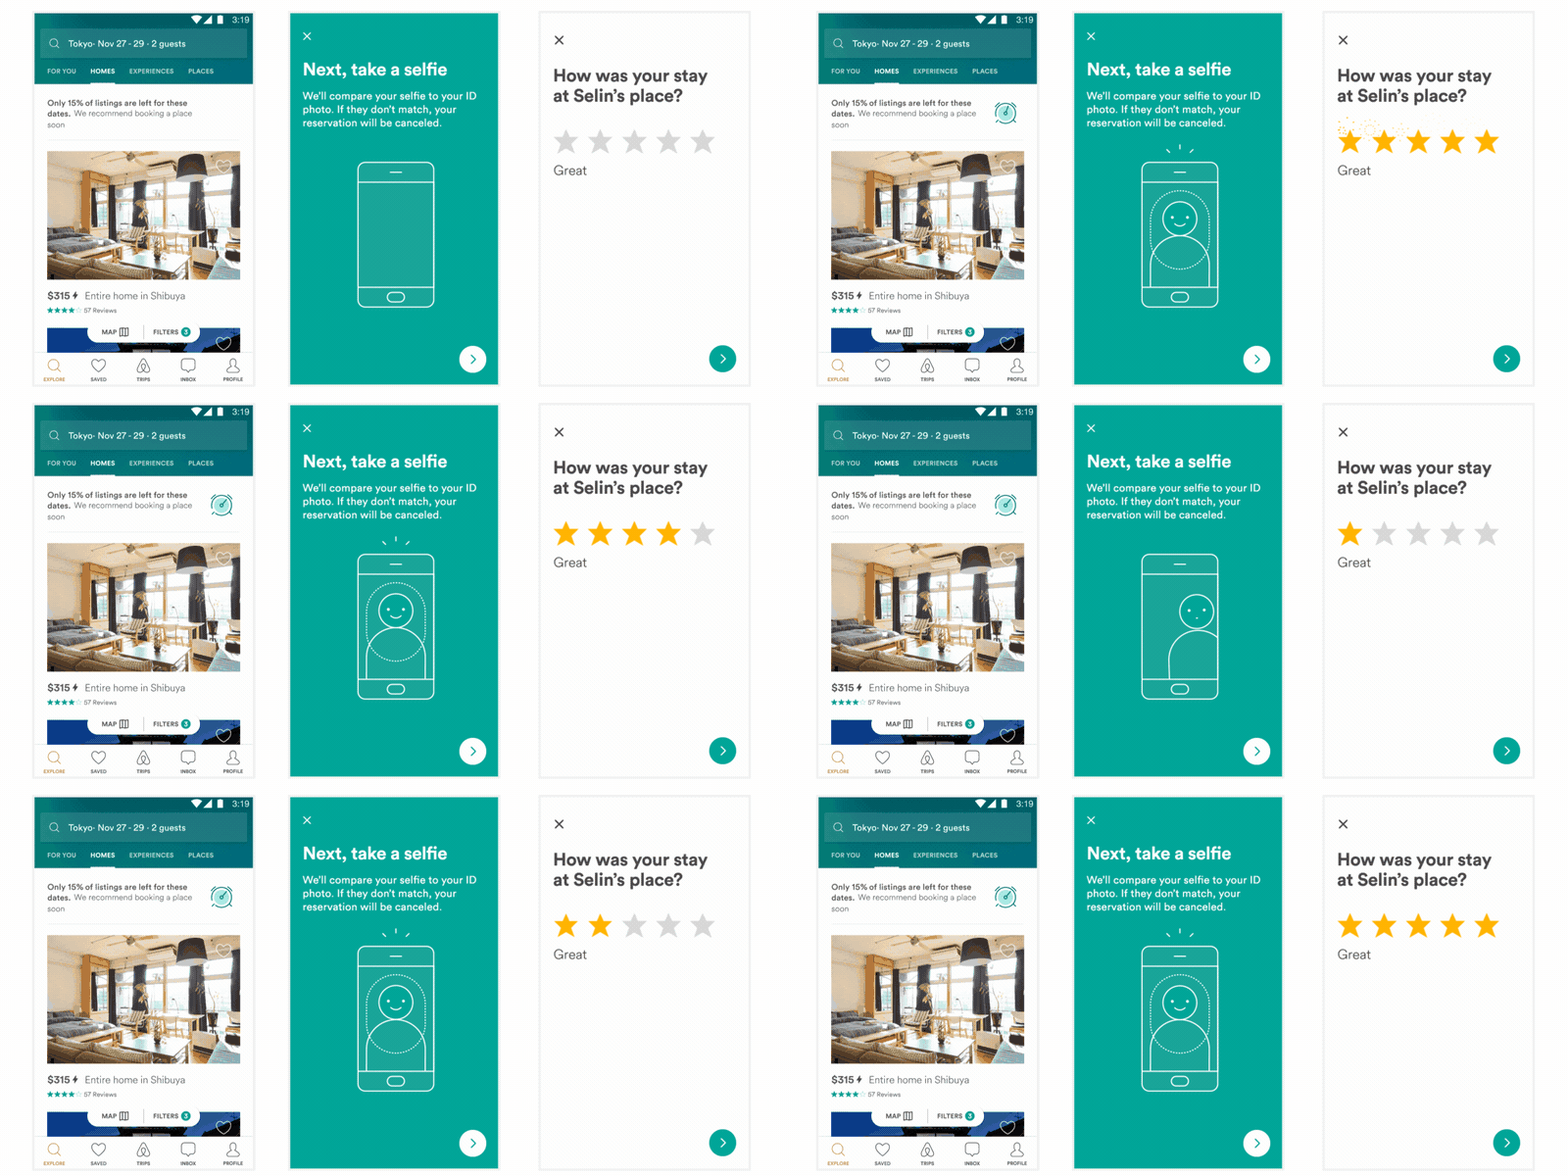
This is an example of a React Native Lottie Component for Android and iOS. Lottie is a mobile library for Android and iOS that parses Adobe After Effects animations exported as JSON and renders them natively on mobile.
Nowadays application development is not only about making a functional mobile app but also about making it attractive for users is equally important. If you see the mobile applications of Uber, Airbnb, CRED, etc you will notice very beautiful animations to introduce the feature, making these kinds of animations in mobile development without any external tool is not possible and components like Lottie can help you to integrate these animations in-app.
With the help of any designer, you can create and ship beautiful animations in your mobile app. Lottie libraries and plugins available for Web, iOS, Android, Flutter, ReactJS, React Native, Xamarin, NativeScript, Windows, Vue, Angular, QT, Skia, Framer X, Sketch, Figma & After Effects.
If you do not have any designer friends or any designer skills then you can take the help of lottiefiles.com, there are many animations freely available to integrate into your mobile app.

All of these animations were created in After Effects, exported with Bodymovin, and rendered natively with no additional engineering effort.
Bodymovin is an After Effects plugin created by Hernan Torrisi that exports After effects files as JSON and includes a javascript web player. Lottie is built on top of his great work to extend its usage to Android, iOS, React Native, and Windows.
To Make a React Native App
Getting started with React Native will help you to know more about the way you can make a React Native project. We are going to use react-native init to make our React Native App. Assuming that you have node installed, you can use npm to install the react-native-cli command-line utility. Open the terminal and go to the workspace and run
npm install -g react-native-cli
Run the following commands to create a new React Native project
react-native init ProjectName
If you want to start a new project with a specific React Native version, you can use the --version argument:
react-native init ProjectName --version X.XX.X
react-native init ProjectName --version react-native@next
This will make a project structure with an index file named App.js in your project directory.
Installation of Dependency
To use LottieView we need to install lottie-react-native dependency.
To install this open the terminal and jump into your project using
cd ProjectName
Run the following commands to install
npm i --save lottie-react-native
npm i --save lottie-ios
This command will copy all the dependencies into your node_module directory.
CocoaPods Installation
After the updation of React Native 0.60, they have introduced auto-linking so we do not require to link the library but need to install pods. So to install pods use
npx pod-install / cd ios && pod install && cd ..
Code
Now Open App.js in any code editor and replace the code with the following code
App.js
// React Native Lottie Component for Android and iOS
// import React in our code
import React, {useRef, useEffect} from 'react';

// import all the components we are going to use
import {SafeAreaView, StyleSheet, View, Text} from 'react-native';
import LottieView from 'lottie-react-native';

const App = () => {
  let animationRef = useRef();
  useEffect(() => {
    // To play complete animation
    animationRef.play();
    // Similary you can use this reset, pause, resume

    // To play from a specific startFrame and endFrame
    // animationRef.play(30, 120);
  }, []);

  return (
    <SafeAreaView style={{flex: 1, backgroundColor: 'white'}}>
      <View style={styles.container}>
        <Text style={styles.header}>
          React Native Lottie Component for Android and iOS
        </Text>
        <LottieView
          ref={(animation) => {
            animationRef = animation;
          }}
          source={require('./animation.json')}
          autoPlay
          loop
        />
      </View>
      <Text style={styles.smallText}>www.codesolution.co.in</Text>
    </SafeAreaView>
  );
};

export default App;

const styles = StyleSheet.create({
  container: {
    flex: 1,
    backgroundColor: 'white',
    padding: 16,
  },
  header: {
    fontSize: 24,
    textAlign: 'center',
    fontWeight: 'bold',
  },
  smallText: {
    fontSize: 18,
    textAlign: 'center',
  },
});
To Run the React Native App
Open the terminal again and jump into your project using.
cd ProjectName
To run the project on an Android Virtual Device or on the real debugging device
react-native run-android
or on the iOS Simulator by running (macOS only)
react-native run-ios
for the IOS settings add libSwiftWebKit.tbd on Link Binary with Libraries
Figured this out. There is a new library in Xcode 12 that needs to
 be added to the Link Binary with Libraries phase call libSwiftWebKit.tbd.
Error went away after adding this.

Unfortunately, adding this library breaks compilation with Xcode 11,
 so you'll have to add & remove it depending on which version of Xcode you're using.